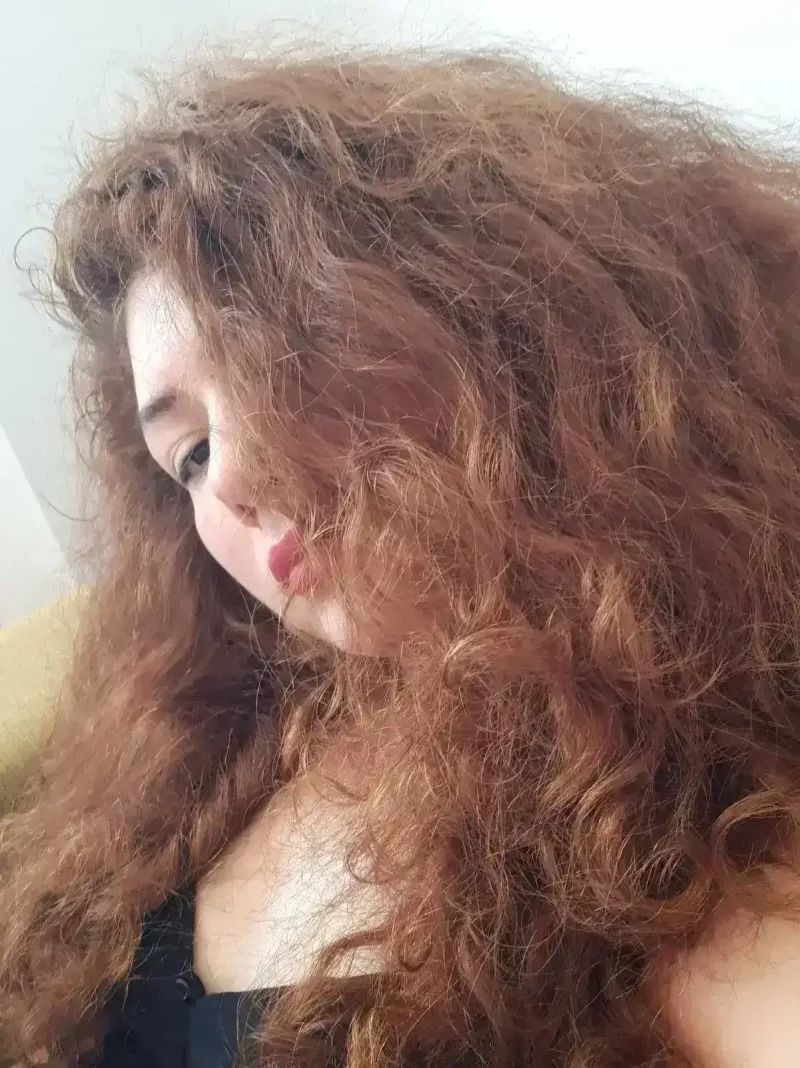
I have naturally curly hair that’s prone to tangling and damage. I struggle to handle it, particularly in summer, when I avoid heat styling and blowouts. My hair texture is fragile with fine strands and tends toward excessive dryness. I always try to infuse moisture and add weight and body to my locks. I have experimented with different hair products – hair masks, oils, hair conditioners and many styling products.
Today, I will perform keratin treatment at home and share my experience with you in this blog post. Hopefully, my hair will become smoother and healthier-looking after the treatment. I am looking forward to getting rid of frizz or significantly reducing it. I will go through the process step-by-step, and we will see the outcome at the end. Join me on this journey!
PRE-KERATIN TREATMENT
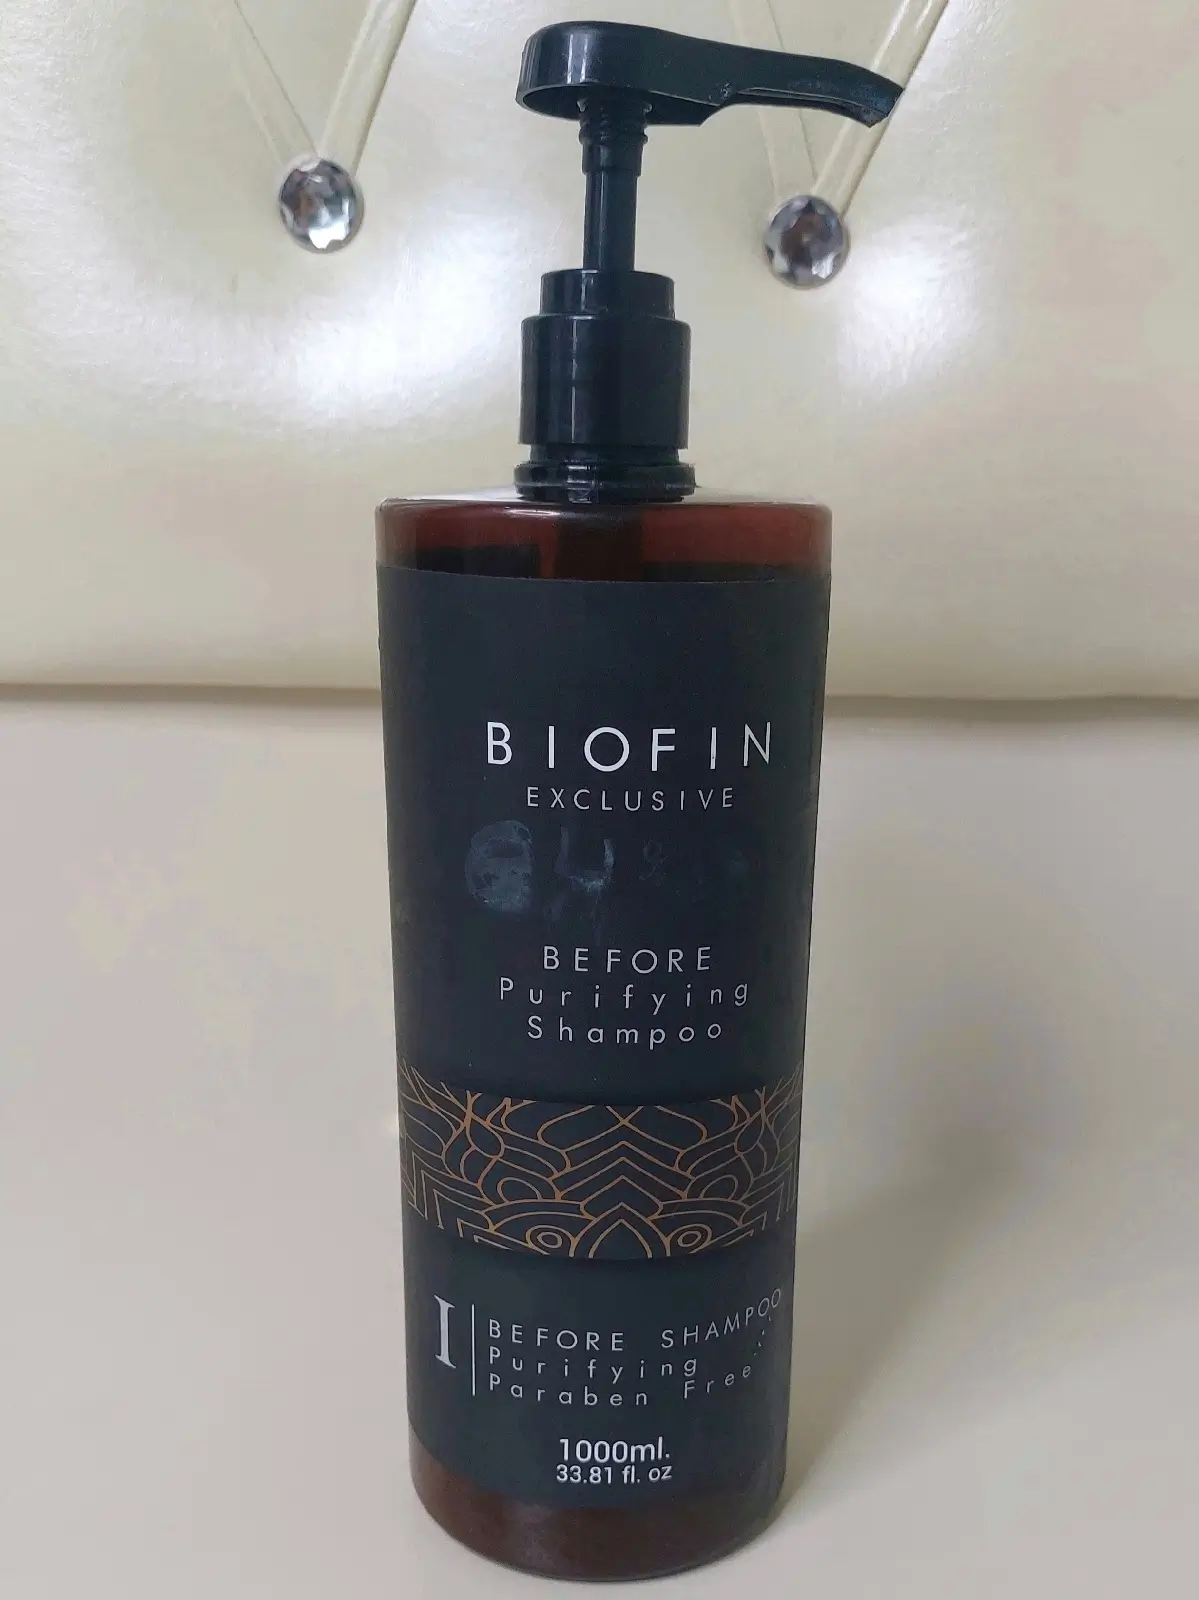
As the first step, I’ll be washing my hair with a special pre-keratin shampoo to prepare the hair for keratin application. This shampoo goes by various names, such as purifying, clarifying or anti-residue shampoos. The product is formulated to deep-clean the hair cuticle – the protective layer – by removing all residues, buildup and impurities that cling to the hair shaft. This shampoo opens up hair cuticles and helps the absorption of keratin.
While many hairstylists advise getting all the products – clarifying shampoo, keratin, after-treatment shampoo and conditioner from the same brand or line, I’ll be using what’s at hand. I don’t think it would make much difference, honestly. I will double-shampoo my hair with the Biofin purifying shampoo and make sure to rinse out the shampoo thoroughly.
It seems to be super drying on my hair. After the shampooing, my hair feels coarse, and it has become challenging to comb through. I let it sit in my hair for a few minutes and didn’t use a hair mask or conditioner. Because of my hair’s natural dryness, this shampoo has left it looking and feeling like a straw.
Additionally, I noticed a subtle change in my hair’s colour. At first, I thought it was just me. But, after some research, I found out that pre-keratin shampoo has the potential to lighten hair colour. It’s kind of the side effect of pre-keratin shampoos. They are formulated to be more potent than regular shampoos and tend to strip off hair colour pigments, resulting in a lighter hair colour.
KERATIN APPLICATION AND STYLING

Now that my hair is fully dry, I will divide it into four sections. I will break each section of hair into smaller subsections as I apply Brasil Botox Keratin, starting from the roots and working my way down to the bottom of each section without touching the scalp.
Some hairdressers brush the treatment onto wet hair, and others prefer to blow-dry the hair first and apply the treatment to fully-dried hair. That might depend on the Keratin product used, or it’s just a personal preference. It’s advisable to read the product information and follow the provided instructions for safety.
I applied the keratin evenly and worked the product into my hair well. There has been a slight contact of the keratin with my scalp. That must be the main drawback of keratin treatment at home because it’s never as precise as a saloon application. To avoid this, I will apply the product starting 1.5 inches from my scalp next time.
I covered my hair with a shower cap and let the keratin sit for about an hour. After removing the cap, I allowed my hair to air-dry halfway before starting the styling process. I generally avoid using a flat iron. So, I went for a blow dryer and did a blowout, as I would normally do. I am going to leave keratin in my hair for at least a day to maximize its effectiveness.
By the way, I did my keratin blowout outdoors to avoid any potential exposure to smoke. Alternatively, you can use a fan while keeping windows open—it works just as well!
AFTER-KERATIN TREATMENT

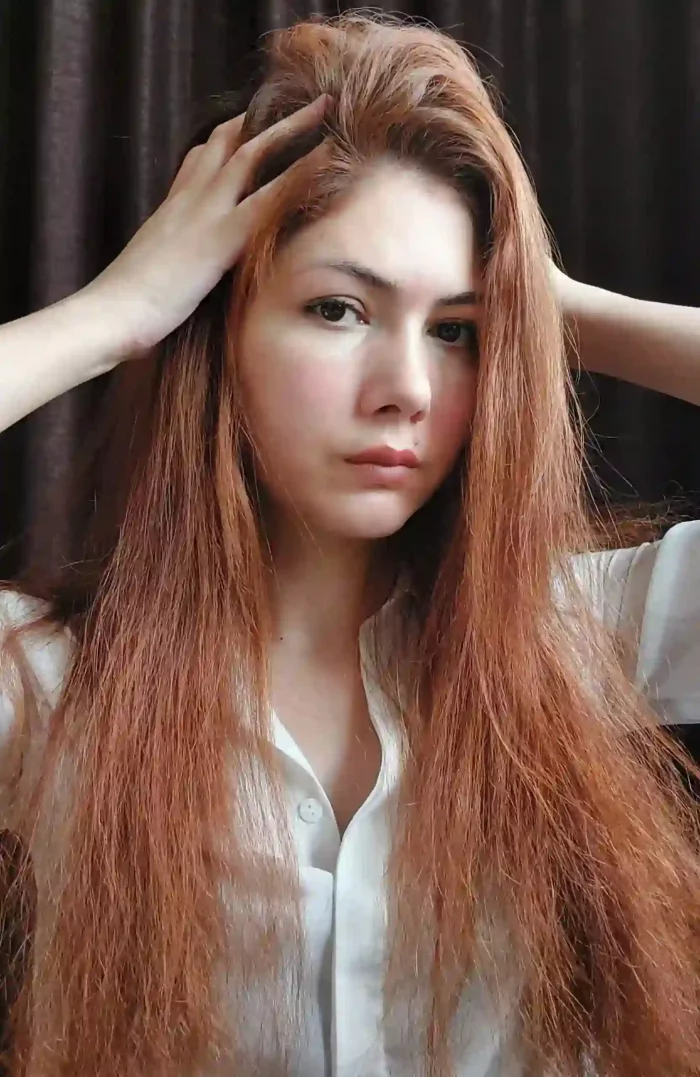
After allowing the keratin treatment to settle, I washed my hair the following day and I let my hair air-dry naturally. As seen in the picture, I still have some curls, volume and frizz. I guess it’s because I didn’t use flat iron for keratin styling. But there’s a noticeable improvement in the look and feel of my hair. I can’t quite say I achieved what I had initially expected, but my hair appears somewhat straight now, and it’s definitely become more manageable.
I’ll order sulfate-free, sodium chloride-free shampoo and keratin conditioner to maintain and prolong the effects of the treatment. Until I get my after-treatment products, I will temporarily use my Johnson’s Baby shampoo, hoping it won’t wash away my keratin.
Keratin treatment at home might initially seem intimidating, but it’s manageable once you’re familiar with the process and know what to do. While it may not match the quality of a salon treatment, it’s an option if you are in the countryside like me or don’t want to get it done in a beauty salon. Keep in mind that it’s a chemical procedure and can be harmful to your health. Do it in a well-ventilated room (open windows) or outside if possible. Here is an article to learn more about keratin treatment.

